I'll introduce you in this article. free version of Elementor : one of the most famous page builder and plebiscities.
If you're considering it creation of your website at less cost, but while wishing a professional result, know that you are in the right place.
I'm fine. free version, for as you have understood, Elementor also has one pro version which can allow you to unlock even more features.
But don't rush too much, we already have a lot to do with the free version and if it pleases you and you want to go even further, you can eventually think about it pass in pro.
For this tutorial, I will consider that you are already comfortable with the basic concepts of WordPress and page builders.
If this is not the case and you need help, don’t hesitate to advise and accompany you with a help WordPress provider.
Contents
Installation of basic tools
Here. my configuration the day I write this tutorial:
- Theme: OceanWP (a classic for Elementor) version 3.2.2
- WordPress version: 5.9.3
- Elementor version: 3.6.5
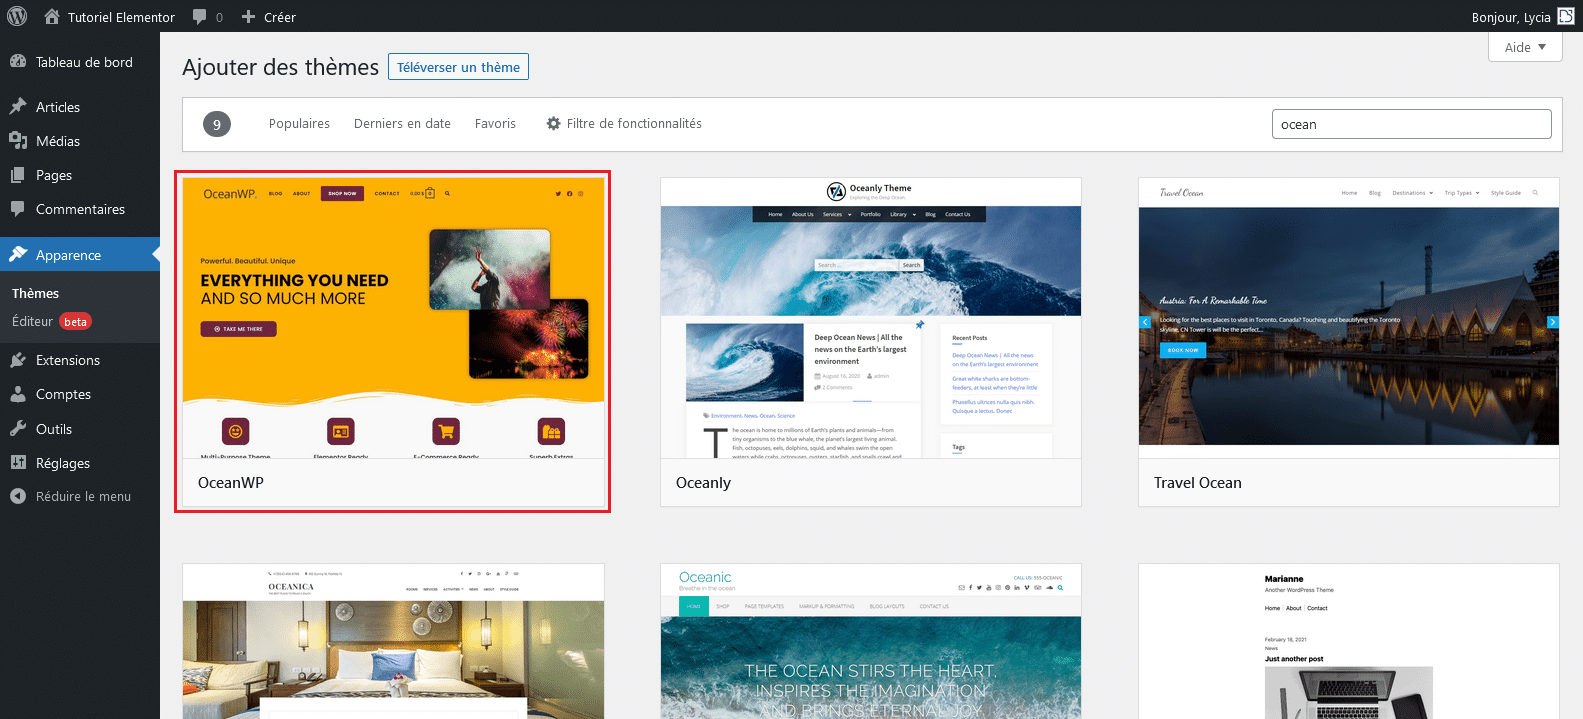
Discover here all themes compatible with Elementor.
Once my theme is installed, I pass to installation of our page manufacturer favorites.
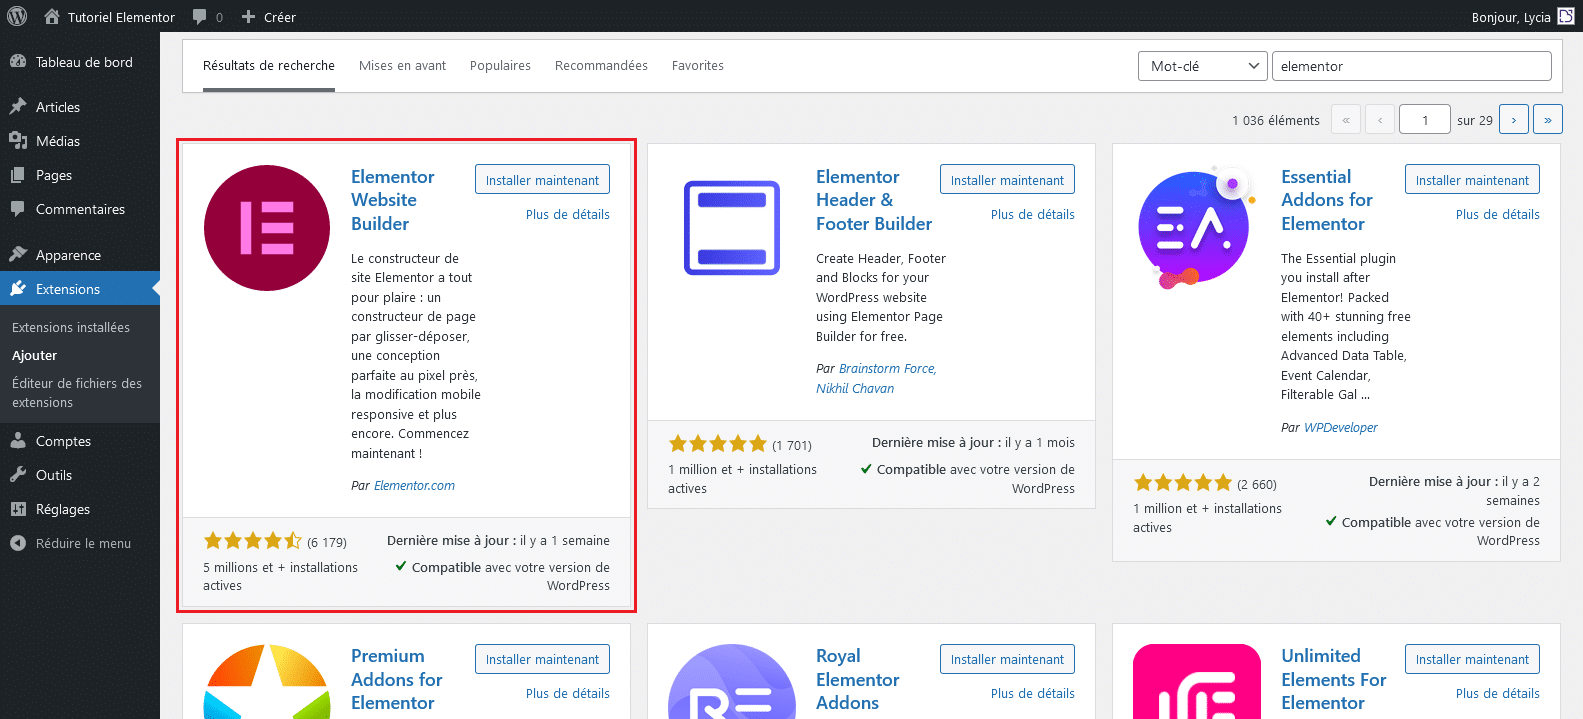
Note that the installable version directly from the official WordPress library is the free version of the extension.
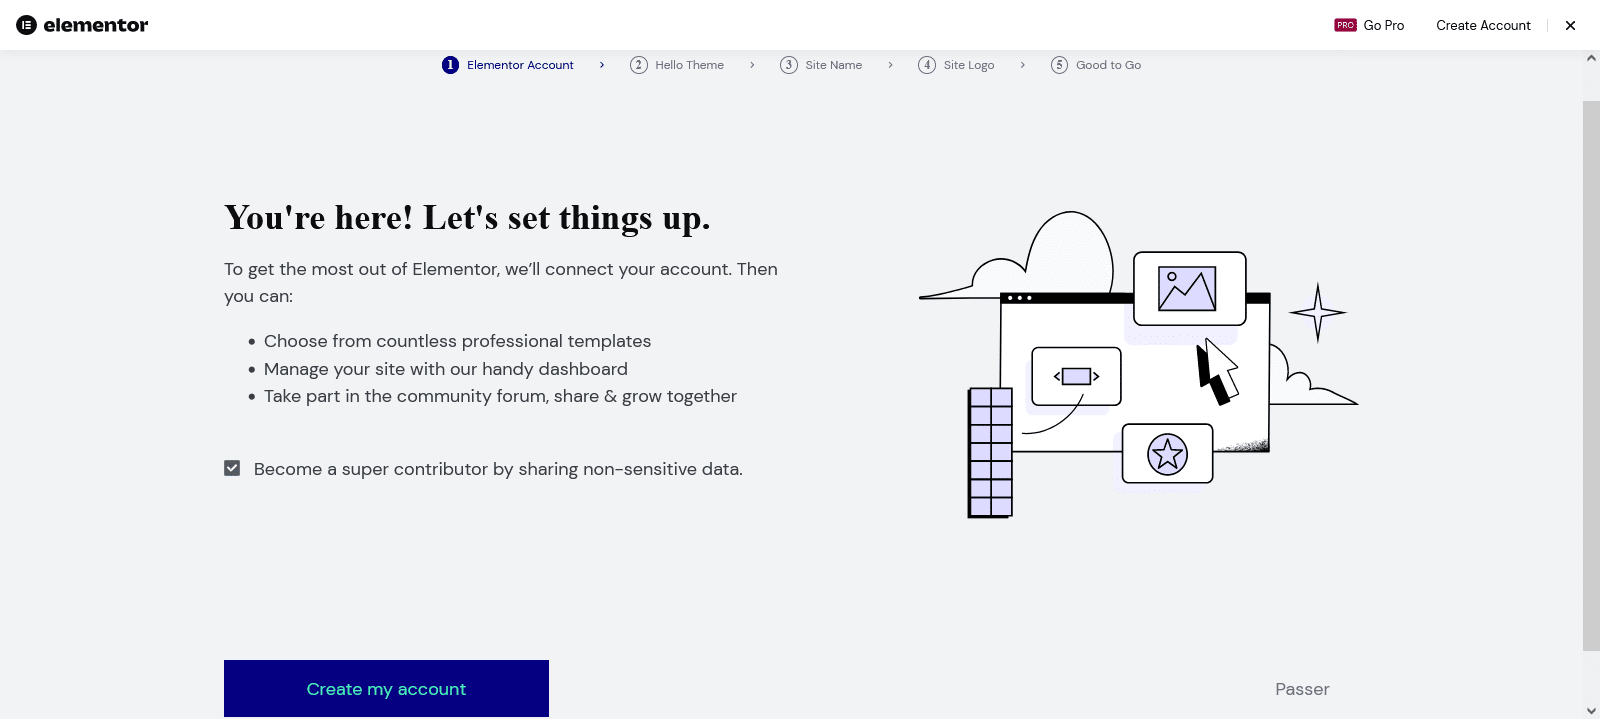
When the extension is activated, you will be asked if you wish:
- Open an Elementor account to enjoy more possibilities
- Choose the theme recommended by Elementor : Hello*
- Edit your site name
- Upload a logo
For my part, I will pass some steps, but free to you to look at what you’re interested in.
At the last stage of this checklist, Elementor will ask you if you want to start from an existing design or if you prefer to build your site from scratch (virgin base).
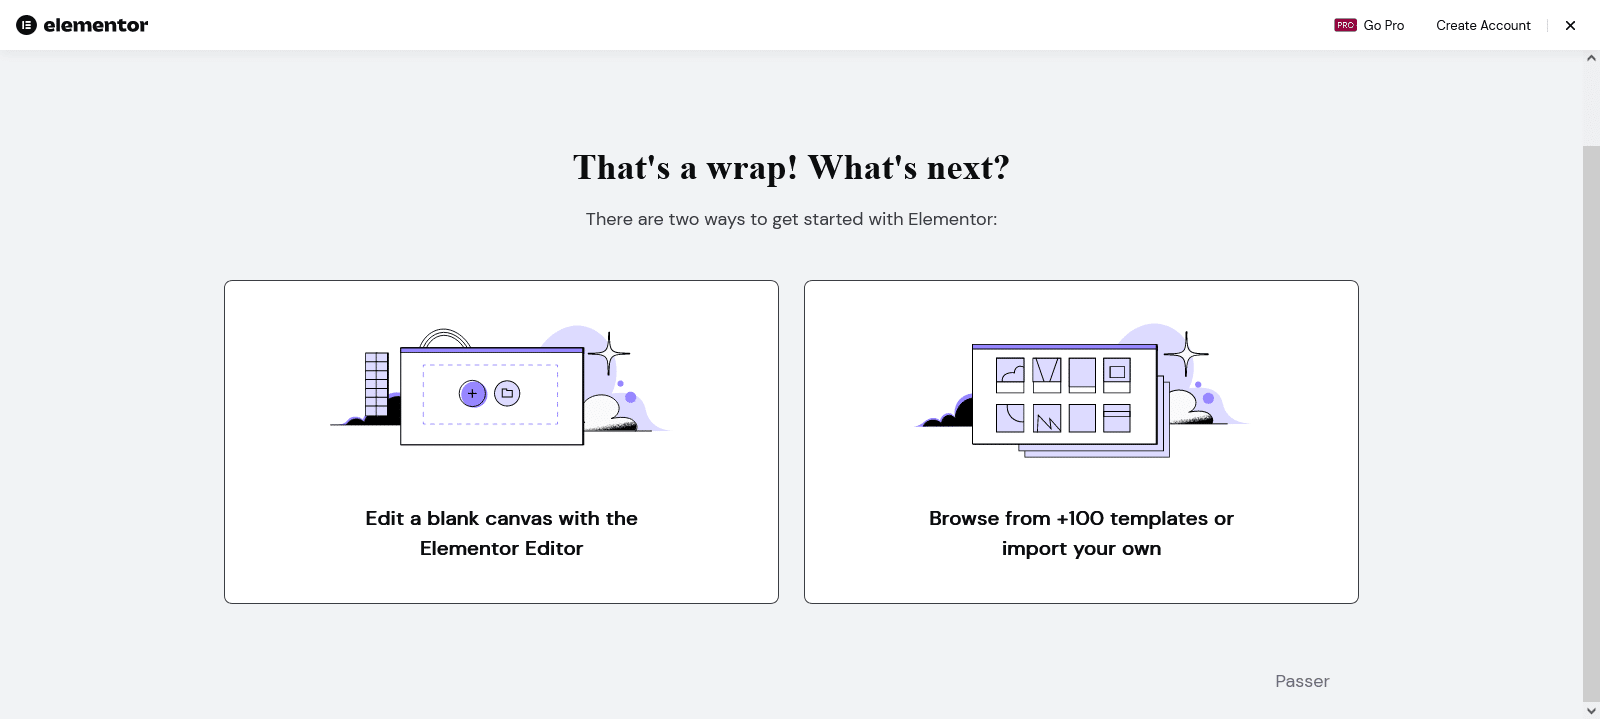
Of course, free to see what you prefer.
The goal of this tutorial will remain to introduce you modules available for free version*.
So I’m not going to look at the option from scratch with subsequent use of modules.
Nothing prevents you from leaving an existing design kit and reworking it with free modules 😉
Here's for information what the looks like Elementor library* of preconceived design packs.
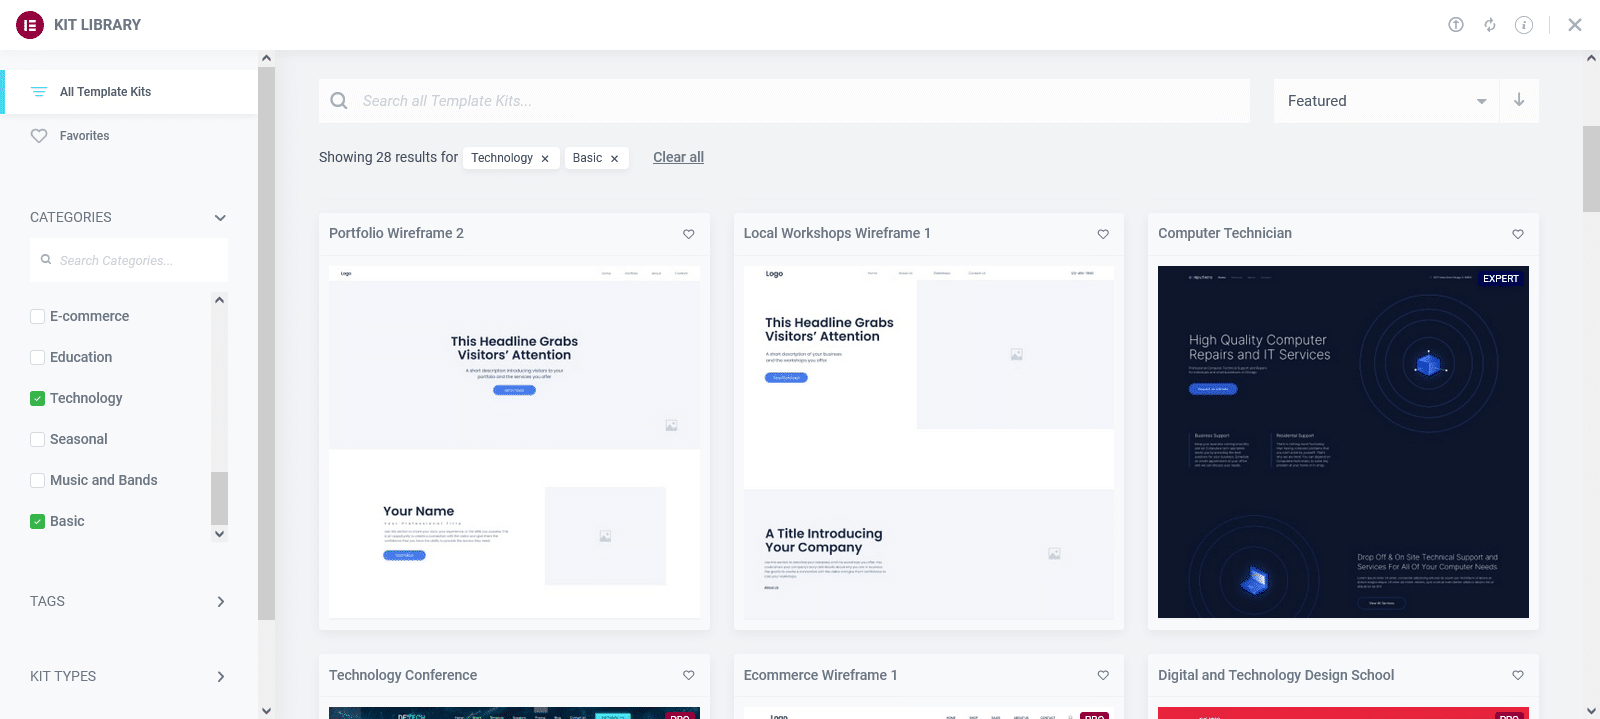
You will find in this library free and paid packages (labelled "pro").
To be honest with you, the choice of free design remains however limited and if you absolutely want something a little less common and out of the lot, you will probably have to subscribe to the pro.
As previously said, I will go for this tutorial to go on a design from scratch (1er choice at the last step).
Discover Free Elementor Modules
From now on, you must have properly set your Elementor extension so that you can review all the features offered in its free version.
In my case, I will edit my "sample page" created by default on my WordPress and I will launch the edition with Elementor.
The procedure will always be the same, no matter what page you want to edit.
Know that you can either go directly by the page in question or by the WordPress dashboard to launch Elementor.
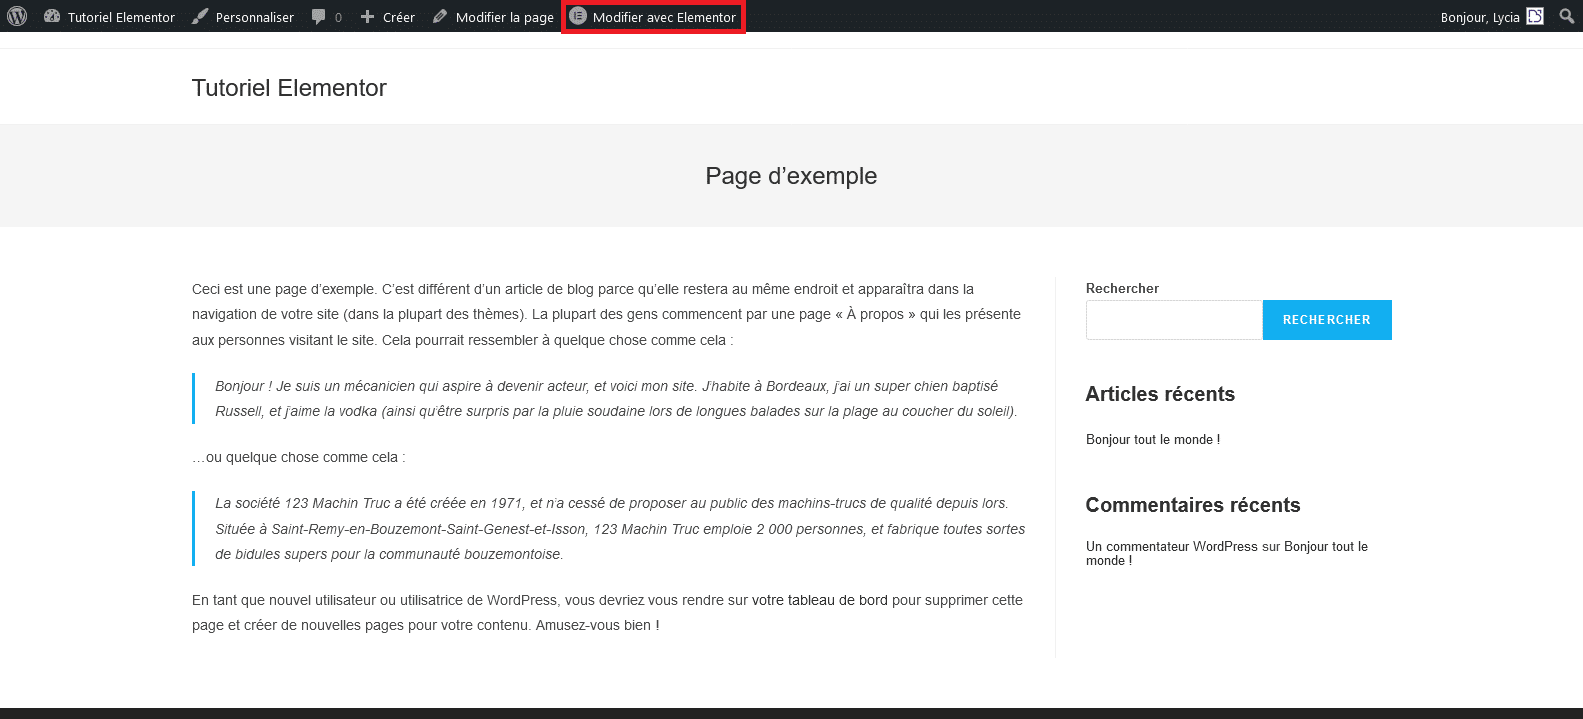
Once you clicked "Edit with Elementor", you will arrive on the page configuration including the edit part on the left and live viewing on the right.
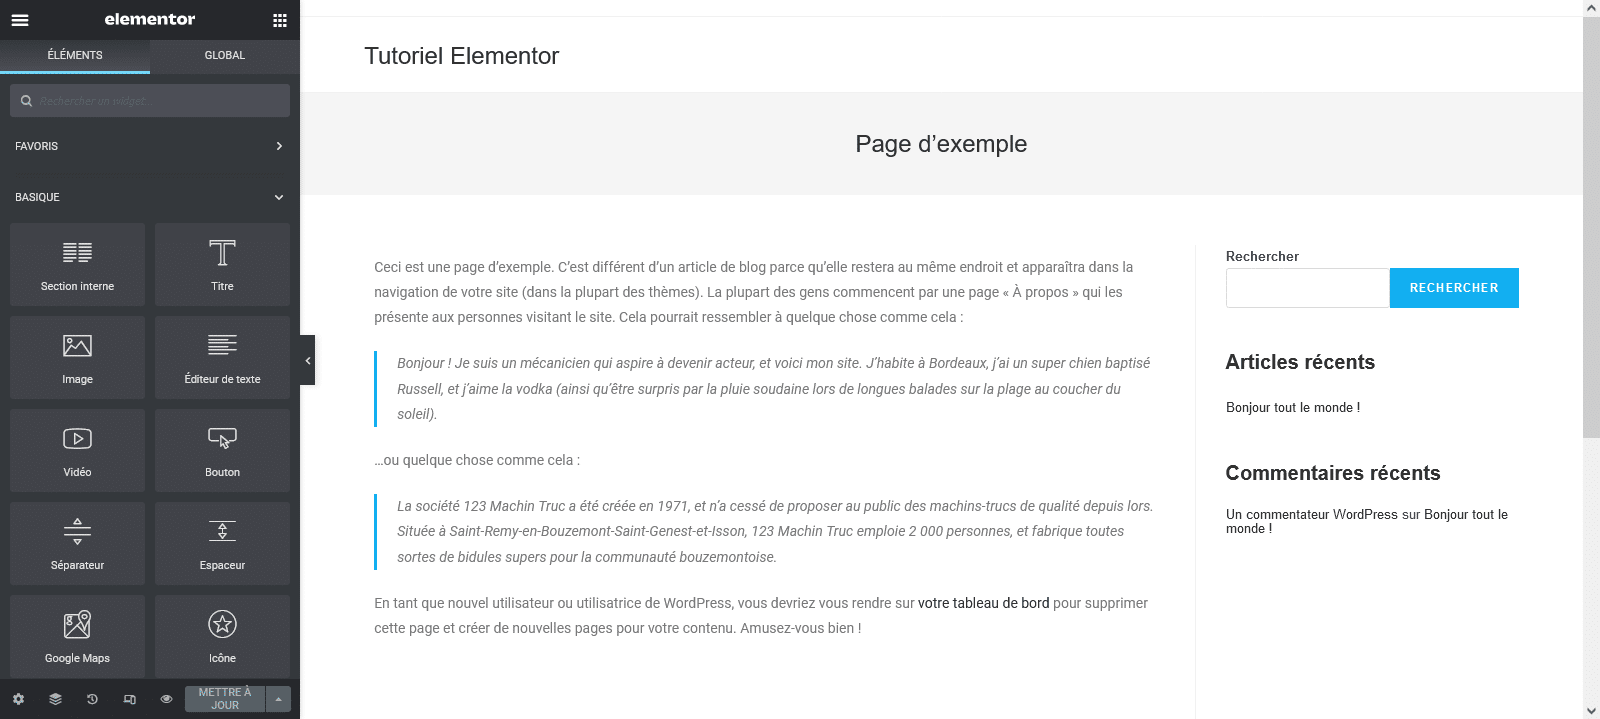
The different modules are called Widgets on Elementor and it is on the publishing panel on the left that you will find them.
This sign is pretty well done, you have to say, because it separates well
distinctly the free widgets of those who are paid and that it
must go to PRO to be able to unlock (currently padded).
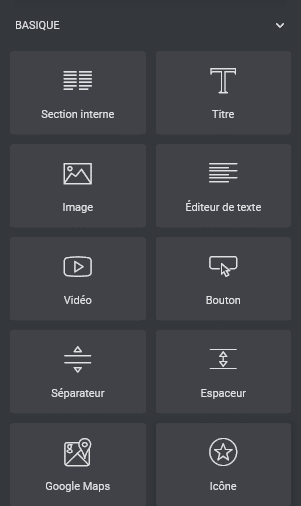
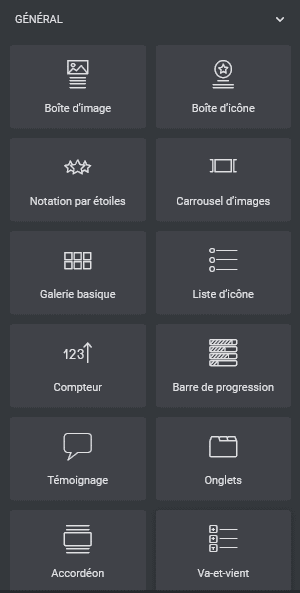
In our case, two areas will be of particular interest to us: basic and general.
Basic modules
I now invite you to go to the game "Basic" to discover together the possibilities that are offered to us here.
👉 Basic widgets
Some widgets are very explicit As to their interest and I’m not going too much to deal with it, this is especially the case for:
- Title
- Image
- Text Editor
- Video
- Button
- Icon
As you can see on these widgets, we even know before using them for what they serve.
They are actually essential and classic to all websites, so that it would not be possible to pass for a design.
👉 Internal Section
Let's go now to the widget "Internal Section" who needs to look at it to explain to you what it serves.
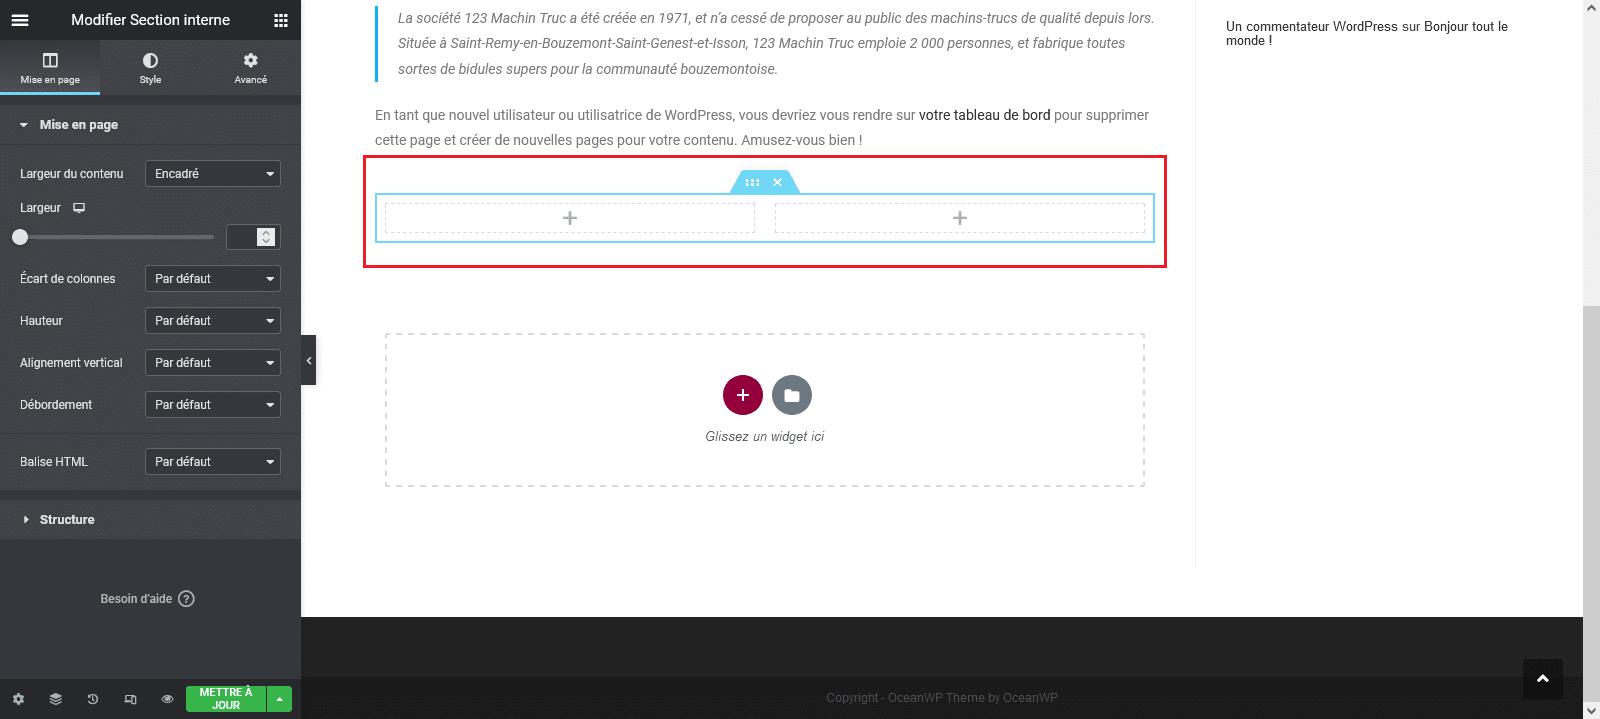
For information, if you want to add a widget to your page, just do one drag and drop to the desired location.
Then opens on the left, the widget editing panel with 3 tabs:
- Pageing or content to define form (HTML, height, width, alignment, overflow, etc.)
- Style to define the background (colors, typographies, borders, backgrounds, etc.)
- Advanced to go even further in customization (brands, animations, responsive, etc.)
This configuration is the same for all widgets you will add to your page.
To return to our module, the "Internal Section" allows add a section with two columns.
If you want to have more columns, just click
on the "+" button to add a section with the desired number of columns (1, 2, 3, 4, 5, 6 and various possible configurations).

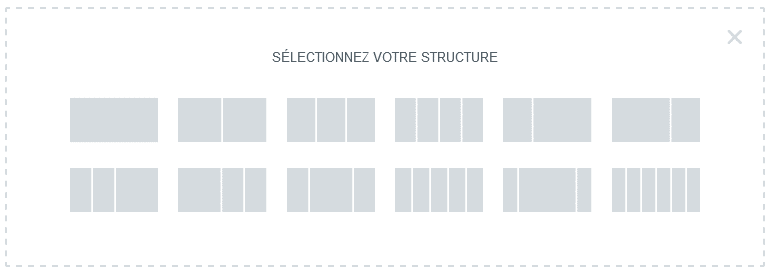
To make it simple, a section will allow you to define the columns you want for your layout in a given place and you can then insert (in columns) the different widgets available.
For example, you can have as configuration a section of two columns with an image on the left column and text on the right column.
You can quickly see that the possibilities are endless.
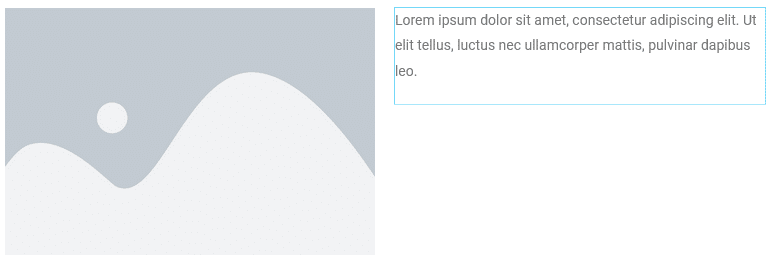
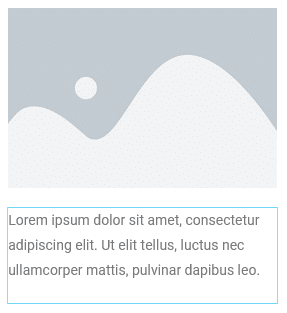
Finally, the construction of section with columns also allows for prepare site responsive where these same columns displayed on the horizontal in computer version
(one next to each other) will be automatically displayed on the vertical on mobile and possibly tablets (one above the other) for optimal display.
👉 Separator and spacer
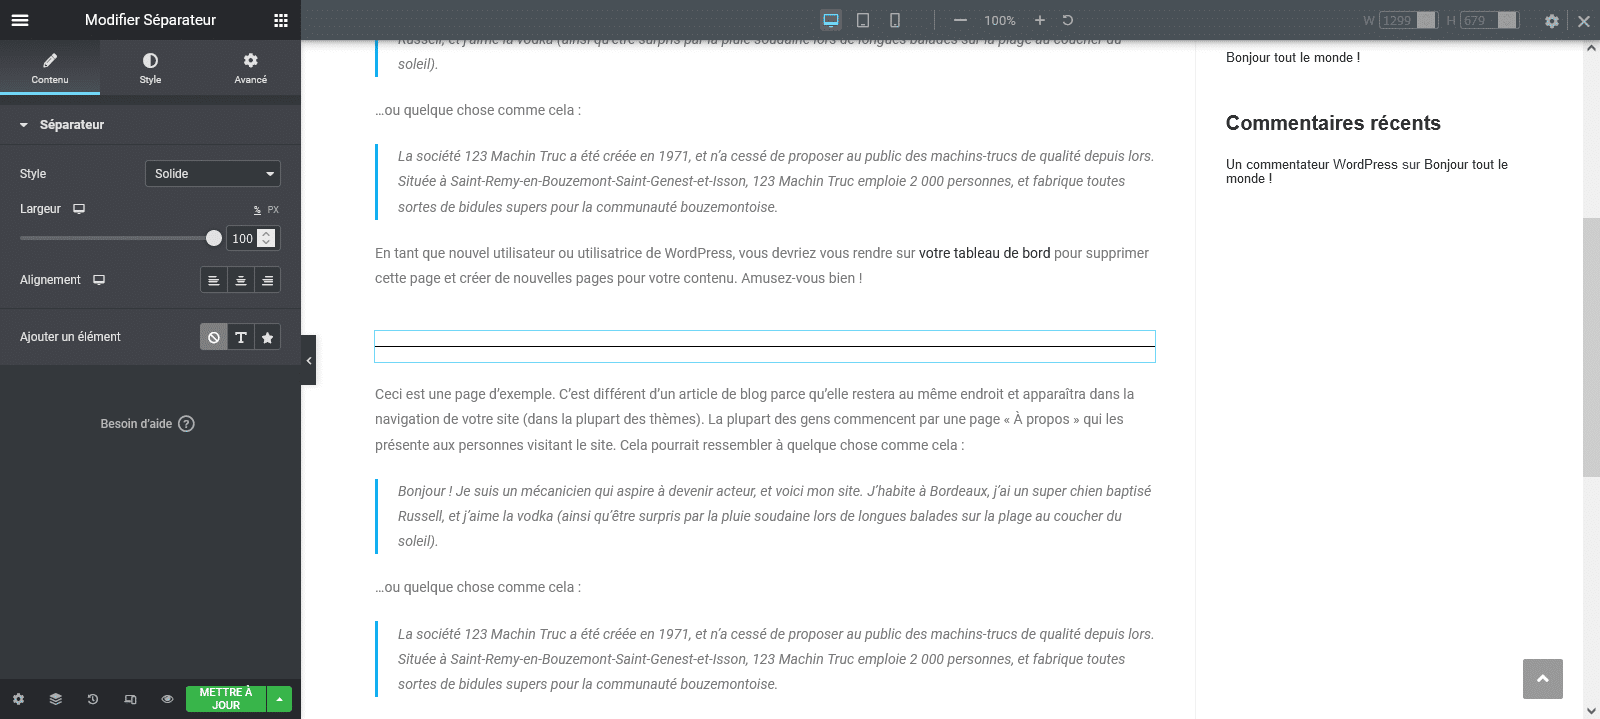
The "Separator" is neither more nor less than a widget allowing to visually separate two areas from a page through a simple line.
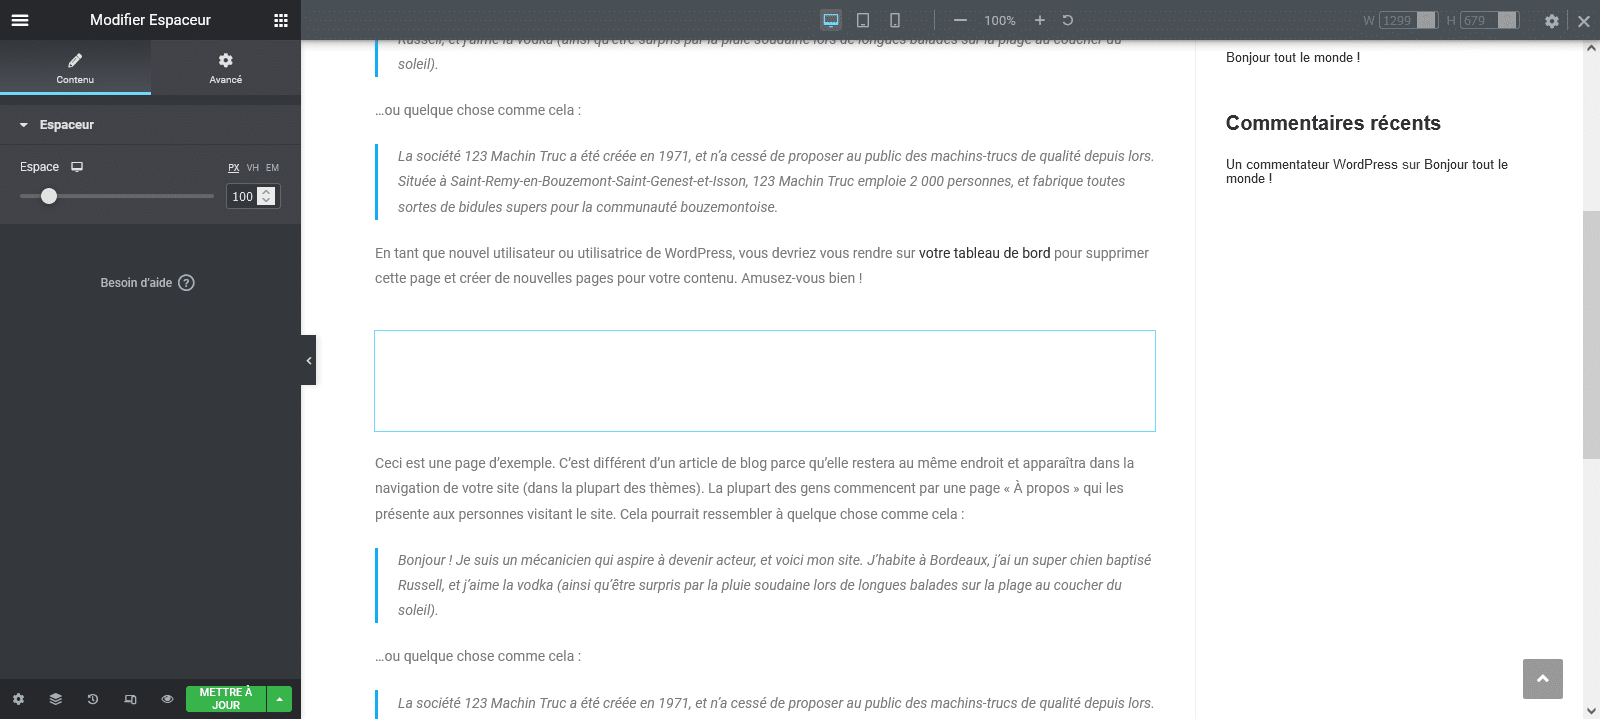
Spacer, for its part, allows to define a blank area of space between two content on a page.
👉 Google Maps
The widget « Google Maps » can be very convenient for you if you want to display a physical address on your site using a map so that your visitors can better locate you and eventually get to the location displayed.
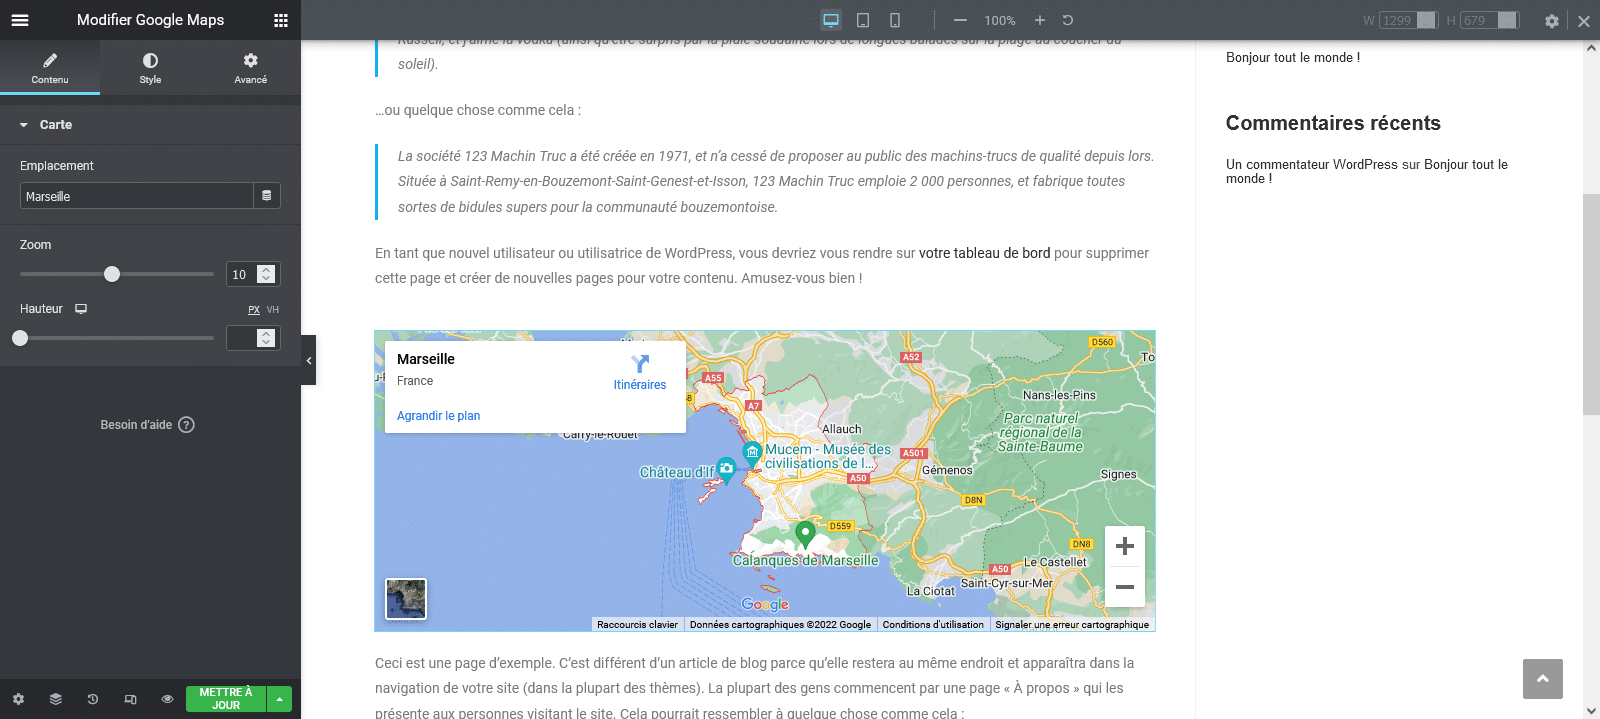
You can obviously define one address on the "Pitch" field.
General modules
Now let's go to the "General" widgets, just below those of the "Pro" version.
👉 Image and icon box
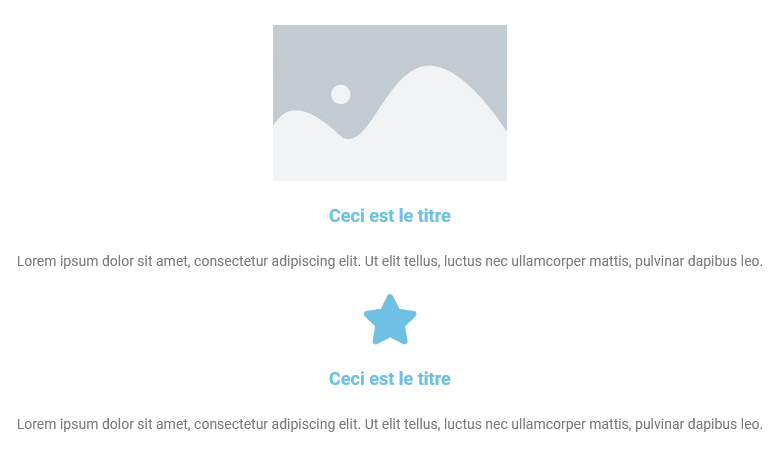
The two widgets “image boxes” and “Icons box” are made for you if you wish to associate text and title to an image (or an icon).
You understand it, it allows you to avoid having to take 3
widgets (title, text, image or icon) to arrive at this result and this
are in some sorts of widgets 3 in 1.
👉 Rating by stars and testimonies
As both often go hand in hand, I present them to you at the same time.
If you want to display customer reviews on your site, then widgets « Star rating » and « Testimonies » are made for you.
They will allow you to display your customers’ reviews and also
to enrich them by the number of stars of the evaluation they have given you
left.

You can, for example, take the opinions of your card Google My Business (if you have one) and display them directly on your site thanks to these widgets.
👉 Image carousel and basic gallery
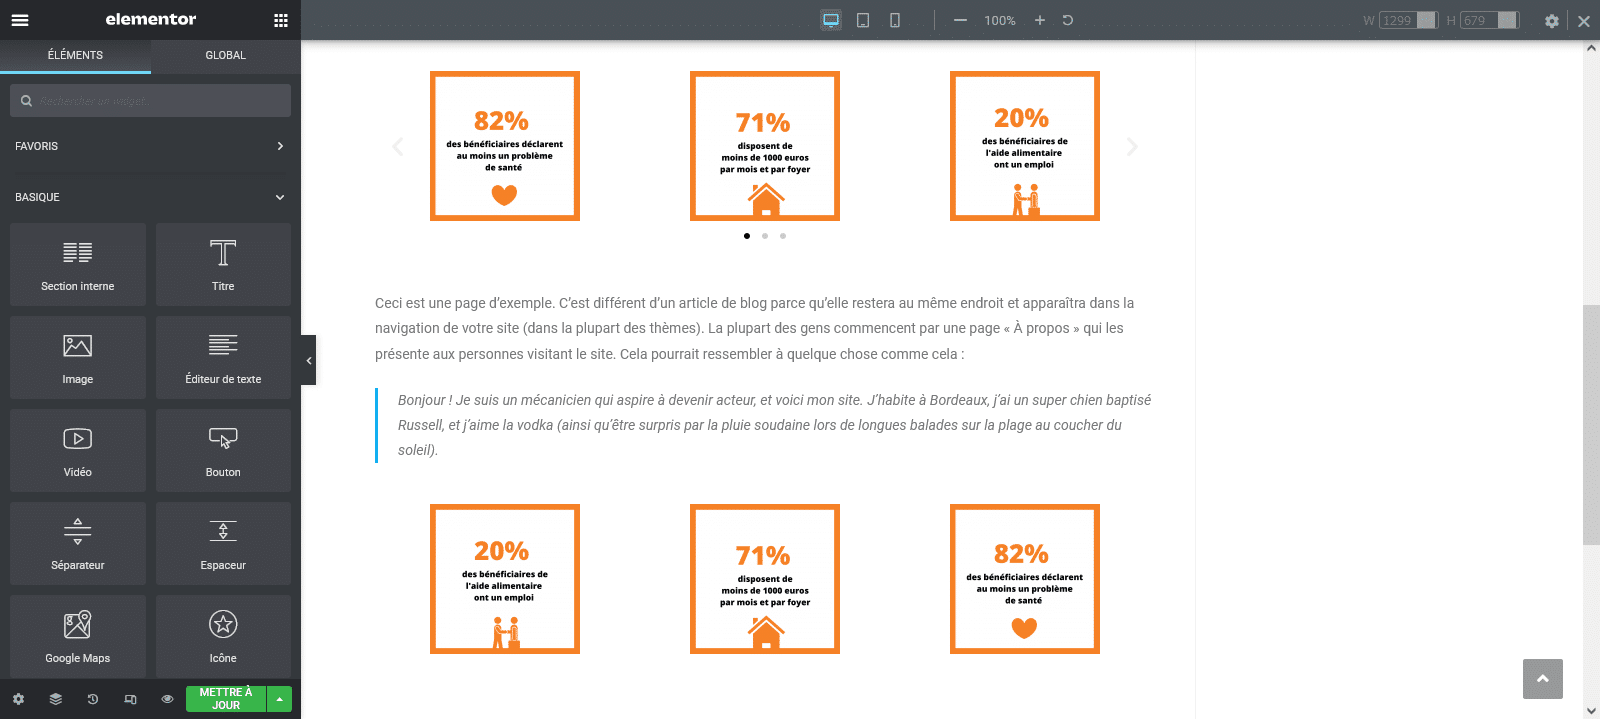
If you want to present several images, videos or even audios in the same place of your page then the “Carrousel of images” and « Basic Gallery » You're gonna like it.
These two widgets generally do the same thing to the noticeable difference of the carousel of images, which it is dynamic in the form of slide which alternate automatically and also with navigation arrows.
👉 List of icons
If you like to enrich your chip, numbered or other list contents, widget “Icon list” has the particularity of proposing, in addition to accompanying your lists of icons of your choice.

👉 Counter
A very appreciable feature on websites: dynamic meters.
Elementor offers a widget « Counter » which allows to define, among other things, a start and end number, the addition of prefix and suffix, the animation duration, etc.

👉 Progress bar
If you want to display your skills, expertise, assets or a state of progress, widget « Progress bar » It's for you.
In addition to bringing a living touch to your website, this module allows to visually associate a particular data with a progression.

👉 Onglets, accordion and return
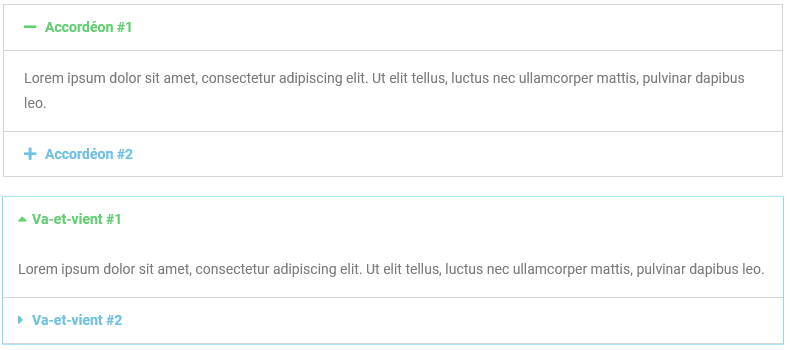
You may wish to display a fairly substantial content, but if you don't want to significantly lengthen your page height, widgets "Onglets", "Agreedon" and "Go and come" may be of great interest to you.
They allow you to properly distribute your content without having to significantly extend your text area in question.

“Agreed” and “Go-and-coming”, as for them, have the advantage of being dynamics and agree on FAQs (Frequently Asked Questions).
👉 Social networks icons
An indispensable one when you realize a website is to present its social networks.
Elementor offers a widget "Social network icons", very appreciable, which allows you to do this by adding buttons to the colors of the main networks that will redirect your visitors to them.

👉 Alert
If you have the content editor profile for your site (blog by
example) and that you wish to improve the experience of your visitors by making the information nice to read, the widget " Alert" you may be interested.
It allows you to add a text area within your content, but
having the particularity of being able to choose your color code among:
- Info (blue)
- Success (green)
- Warning (orange)
- Danger (red)

In addition, this module allows you to win uniformity and harmony between your various content.
Personally, I find this widget very simple, but so practical.
👉 SoundCloud
The widget SoundCloud allows you to simply add an audio from an external URL.
The simplicity of the module makes that we can pass directly afterwards.
👉 Short code
If you need to insert a short code (or shortcode), know
that Elementor also offers, in its free version, a widget called « Short Code » And let you come and paste your code on your page.
If the concept of short code doesn’t talk to you too much, don’t worry, the concept is actually very simple.
I invite you to find out about it, it really is worth it.
👉 HTML and Ancre menu
In case you are comfortable with the code and add a few
HTML lines within your page don’t get cold in your back then know that a widget « HTML » exists and it can allow you to go beyond what is possible to do on your page.
In addition, if you wish your visitors to access
quickly to the information you make available to them, I invite you to use the widget « Ancre de menu » which allows you to design these shortcuts to the desired places of your page.
If you use anchors, think of adding the ID in question on the pointed area otherwise it will not work 😉
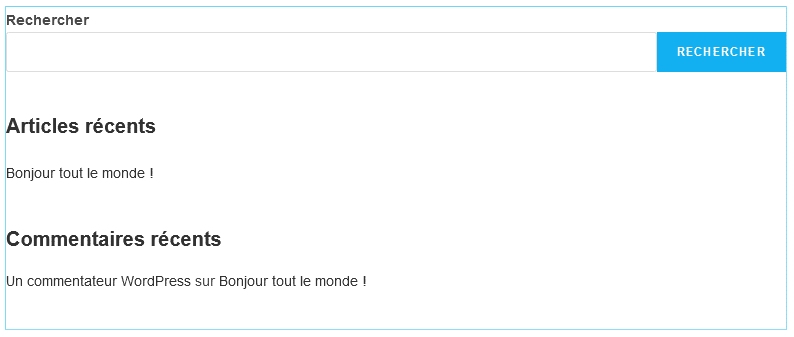
👉 Side column
If you have a blog or e-commerce configuration for example, widget « Side column » Maybe you’re interested.
It can allow you to propose content Annex and supplementary related to the main content of the page in question.
👉 Path of text
To finish on the widgets of the “General” part of the Elementor editing panel, let’s briefly review the widget « Path of text » which allows you to simply change the form of appearance of a text.

Several forms are possible such as:
- Vague
- Arc
- Circle
- Line
- Ovale
- Spirale
- Customized
You only have to have fun with 😉
Review of the free version of Elementor
So we reviewed what it is globally possible to achieve with Elementor in its free version.
I will now like to share my opinion on the features we have seen.
For a relatively simple need, I can only strongly recommend you install Elementor, because as you have been able to see it, we can really do a lot of things even in free version.
For example, you can test it and take it in hand at first and then if it suits you and your need is more consistent, why not go to PRO at that time.
The license costs, at the time I write these lines, $59 for 1 year* (for 1 site) what remains affordable.
In case you wish to deepen the process of
creation of websites to allow you to use Elementor, here
an article that deals precisely with fundamentals when designing a site under WordPress.
That's all for this tutorial, I'm hoping that it was nice and that you were able to discover what Elementor, one of the most popular WordPress page builders in the world, is waiting for you!


